Smart Greenhouse Monitor
Project Overview
This project introduces the fundamentals of Internet of Things (IoT) and environmental monitoring by building a simple smart greenhouse system. The goal is to monitor temperature, humidity, and soil moisture, and automatically water a plant when the soil becomes too dry.
The system uses a DHT11 sensor to measure ambient temperature and humidity, while a soil moisture sensor determines how dry the soil is. When the moisture level drops below a defined threshold, the Arduino activates a water pump through a relay, simulating an automated irrigation system.
This type of system is widely used in smart agriculture, greenhouse automation, and home gardening solutions.
Components Required
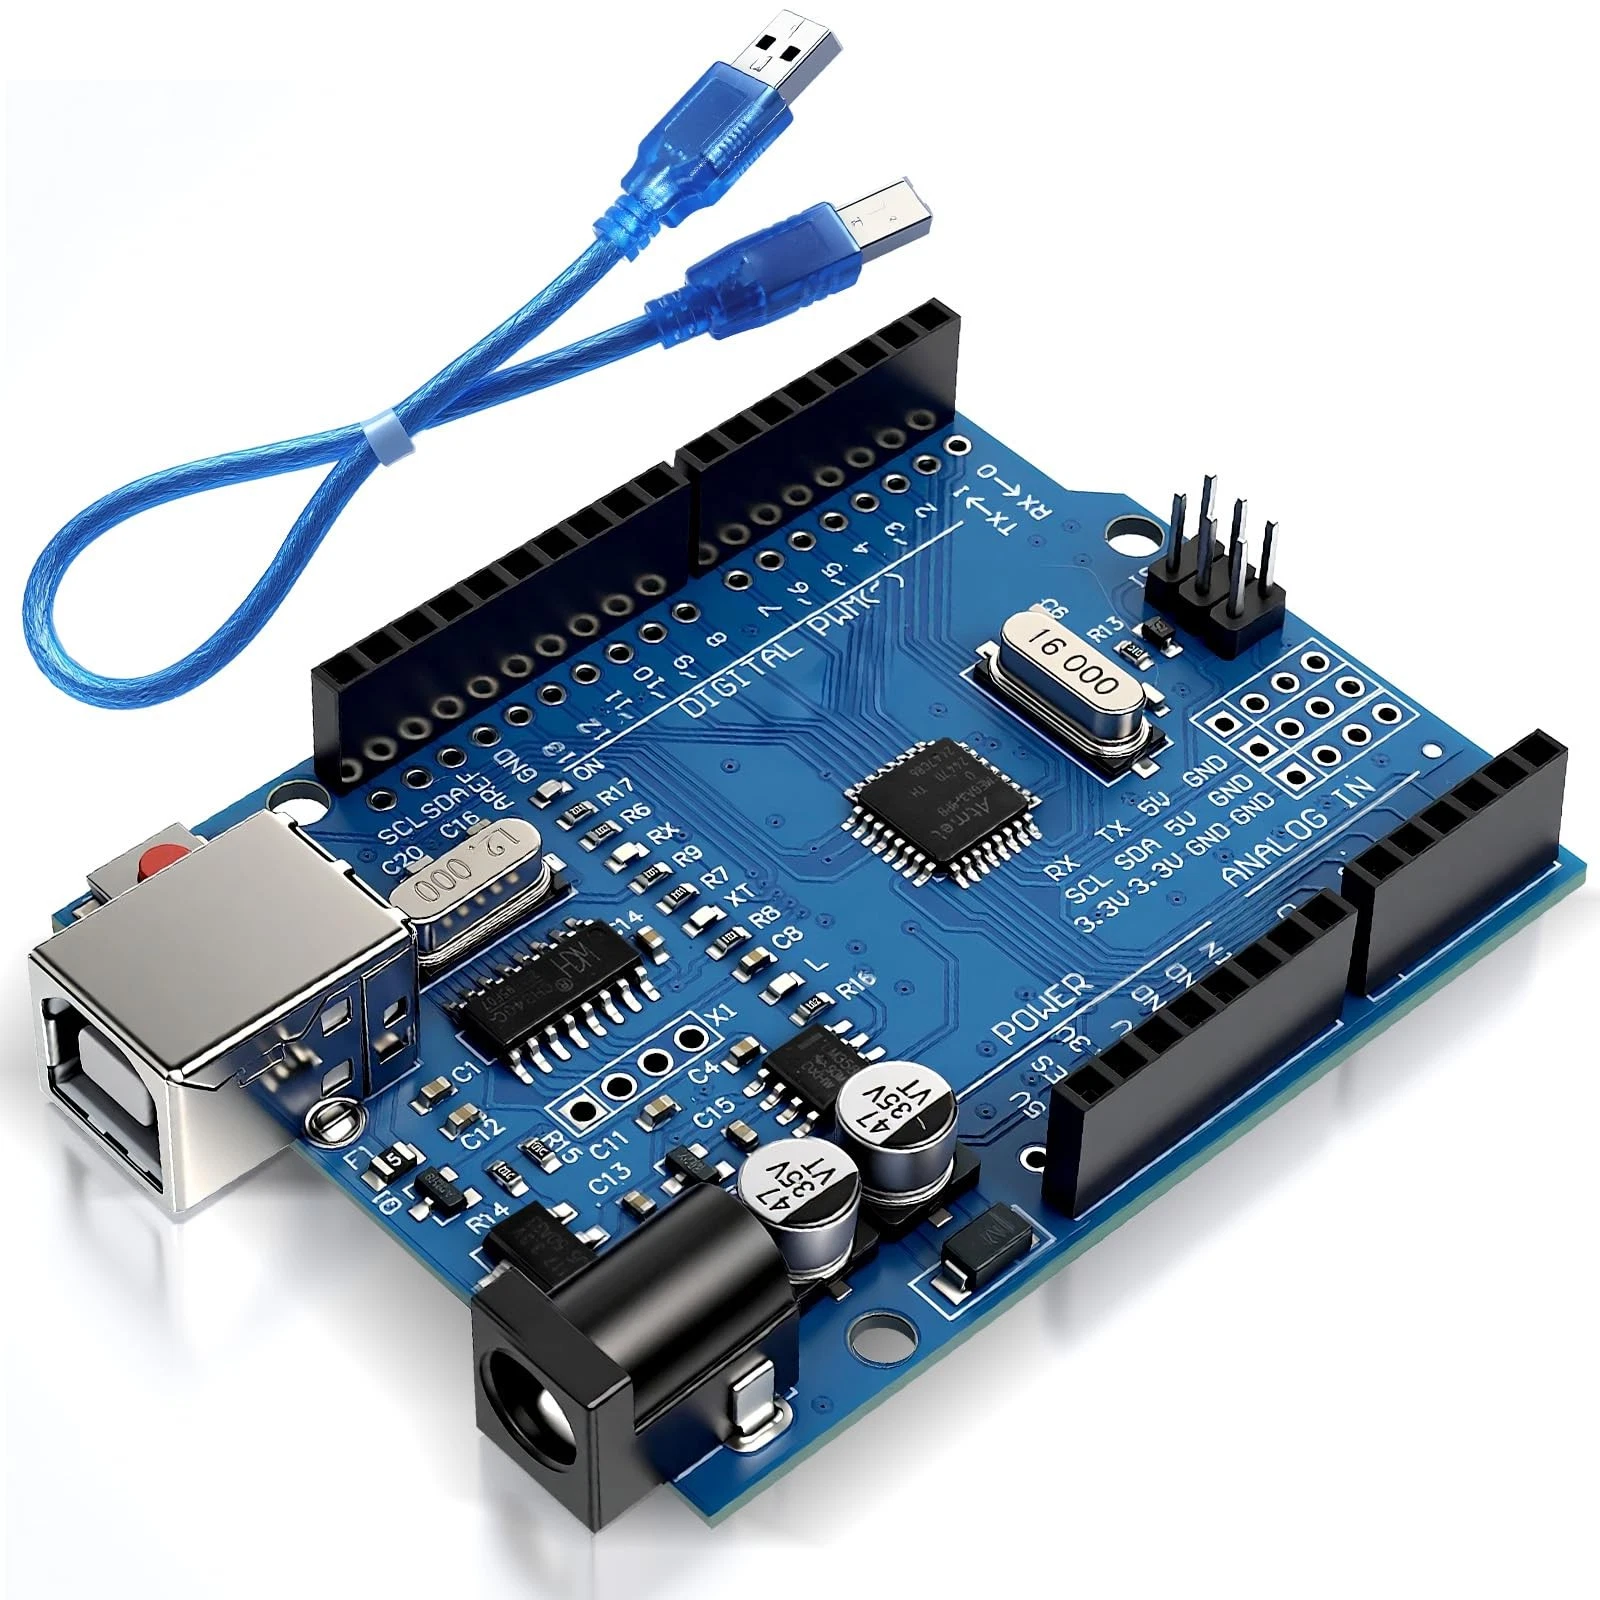
- 1x Arduino Uno
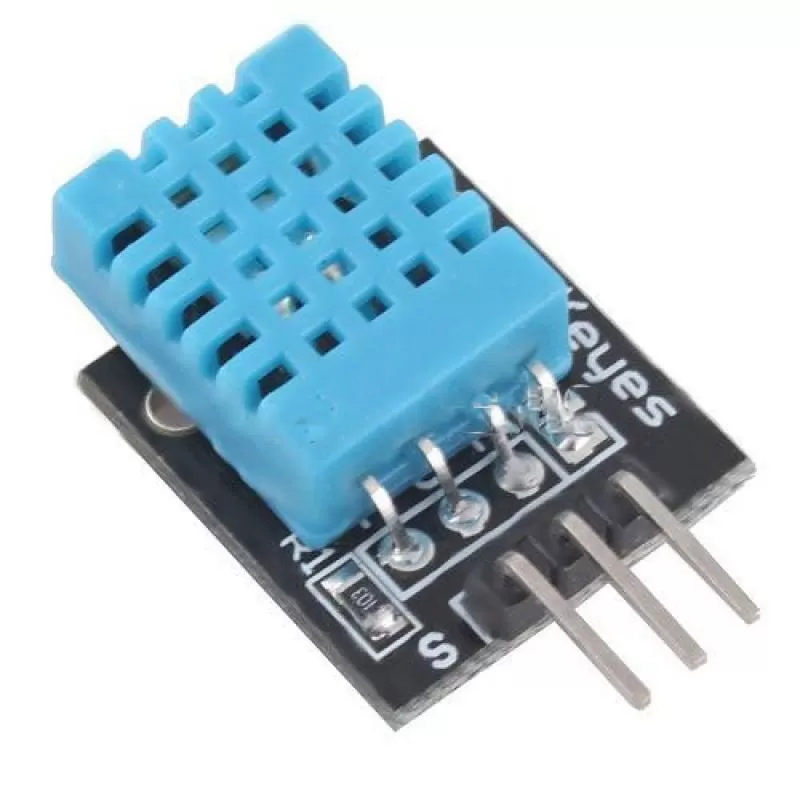
- 1x DHT11 Temperature and Humidity Sensor
- 1x Soil Moisture Sensor
- 1x 5V Relay Module
- 1x 5V Submersible Water Pump
- Jumper wires
- External power supply (for pump)
Wiring Guide
Follow these steps carefully:
- Connect the DHT11 sensor:
- VCC → 5V
- GND → GND
- Data → Pin 2
- Connect the soil moisture sensor:
- VCC → 5V
- GND → GND
- Analog OUT → A0
- Connect the relay module:
- VCC → 5V
- GND → GND
- IN → Pin 8
- Connect the water pump through the relay:
- Cut one wire of the pump power supply
- Connect one end to COM (Common) on the relay
- Connect the other end to NO (Normally Open)
The relay acts as a switch, allowing the Arduino to safely control the pump, which requires more power than the Arduino can supply directly.
Source Code
#include <DHT.h>

#define DHTPIN 2
#define DHTTYPE DHT11
DHT dht(DHTPIN, DHTTYPE);

int pumpPin = 8;
int soilPin = A0;
int threshold = 400; // Change based on calibration

void setup() {
  Serial.begin(9600);
  dht.begin();
  pinMode(pumpPin, OUTPUT);
  digitalWrite(pumpPin, HIGH); // Relay is active LOW
}

void loop() {
  int moisture = analogRead(soilPin);
  float temp = dht.readTemperature();

  Serial.print("Soil Moisture: ");
  Serial.println(moisture);

  Serial.print("Temperature: ");
  Serial.println(temp);

  if (moisture < threshold) {
    digitalWrite(pumpPin, LOW);  // Turn pump ON
    delay(2000);                 // Water for 2 seconds
    digitalWrite(pumpPin, HIGH); // Turn pump OFF
  }

  delay(10000); // Wait before next reading
}
Code Explanation
The program begins by including the DHT library, which allows communication with the DHT11 sensor. The sensor is initialized using the defined pin and type.
In the setup() function, the serial monitor is started for debugging, and the relay control pin is set as an output. The relay is initialized in the OFF state (HIGH), since most relay modules are active LOW.
Inside the loop(), the Arduino reads the soil moisture level using analogRead() and temperature using the DHT sensor. These values are printed to the Serial Monitor for monitoring.
The program compares the soil moisture value to a threshold. If the soil is too dry, the relay is activated, turning on the pump for a short duration to water the plant. After watering, the pump is turned off.
This cycle repeats every 10 seconds, creating an automated irrigation system that responds to environmental conditions.