Build an Automatic Water Dispenser with Arduino and an IR Sensor
Build an Automatic Water Dispenser with Arduino
Project Overview
This project uses an IR obstacle sensor to detect hands beneath a water outlet. When hands are detected, the Arduino switches on a relay that powers a mini water pump. Removing your hands stops the pump.
The sensor's built-in potentiometer lets you adjust its detection sensitivity. This project introduces a practical way to combine sensors, Arduino programming, and automatic control.
What You Will Learn
- Reading an IR sensor using digitalRead().
- Controlling a relay using digitalWrite().
- Using if and else to respond to sensor readings.
- Powering a pump from an external supply.
Components Required
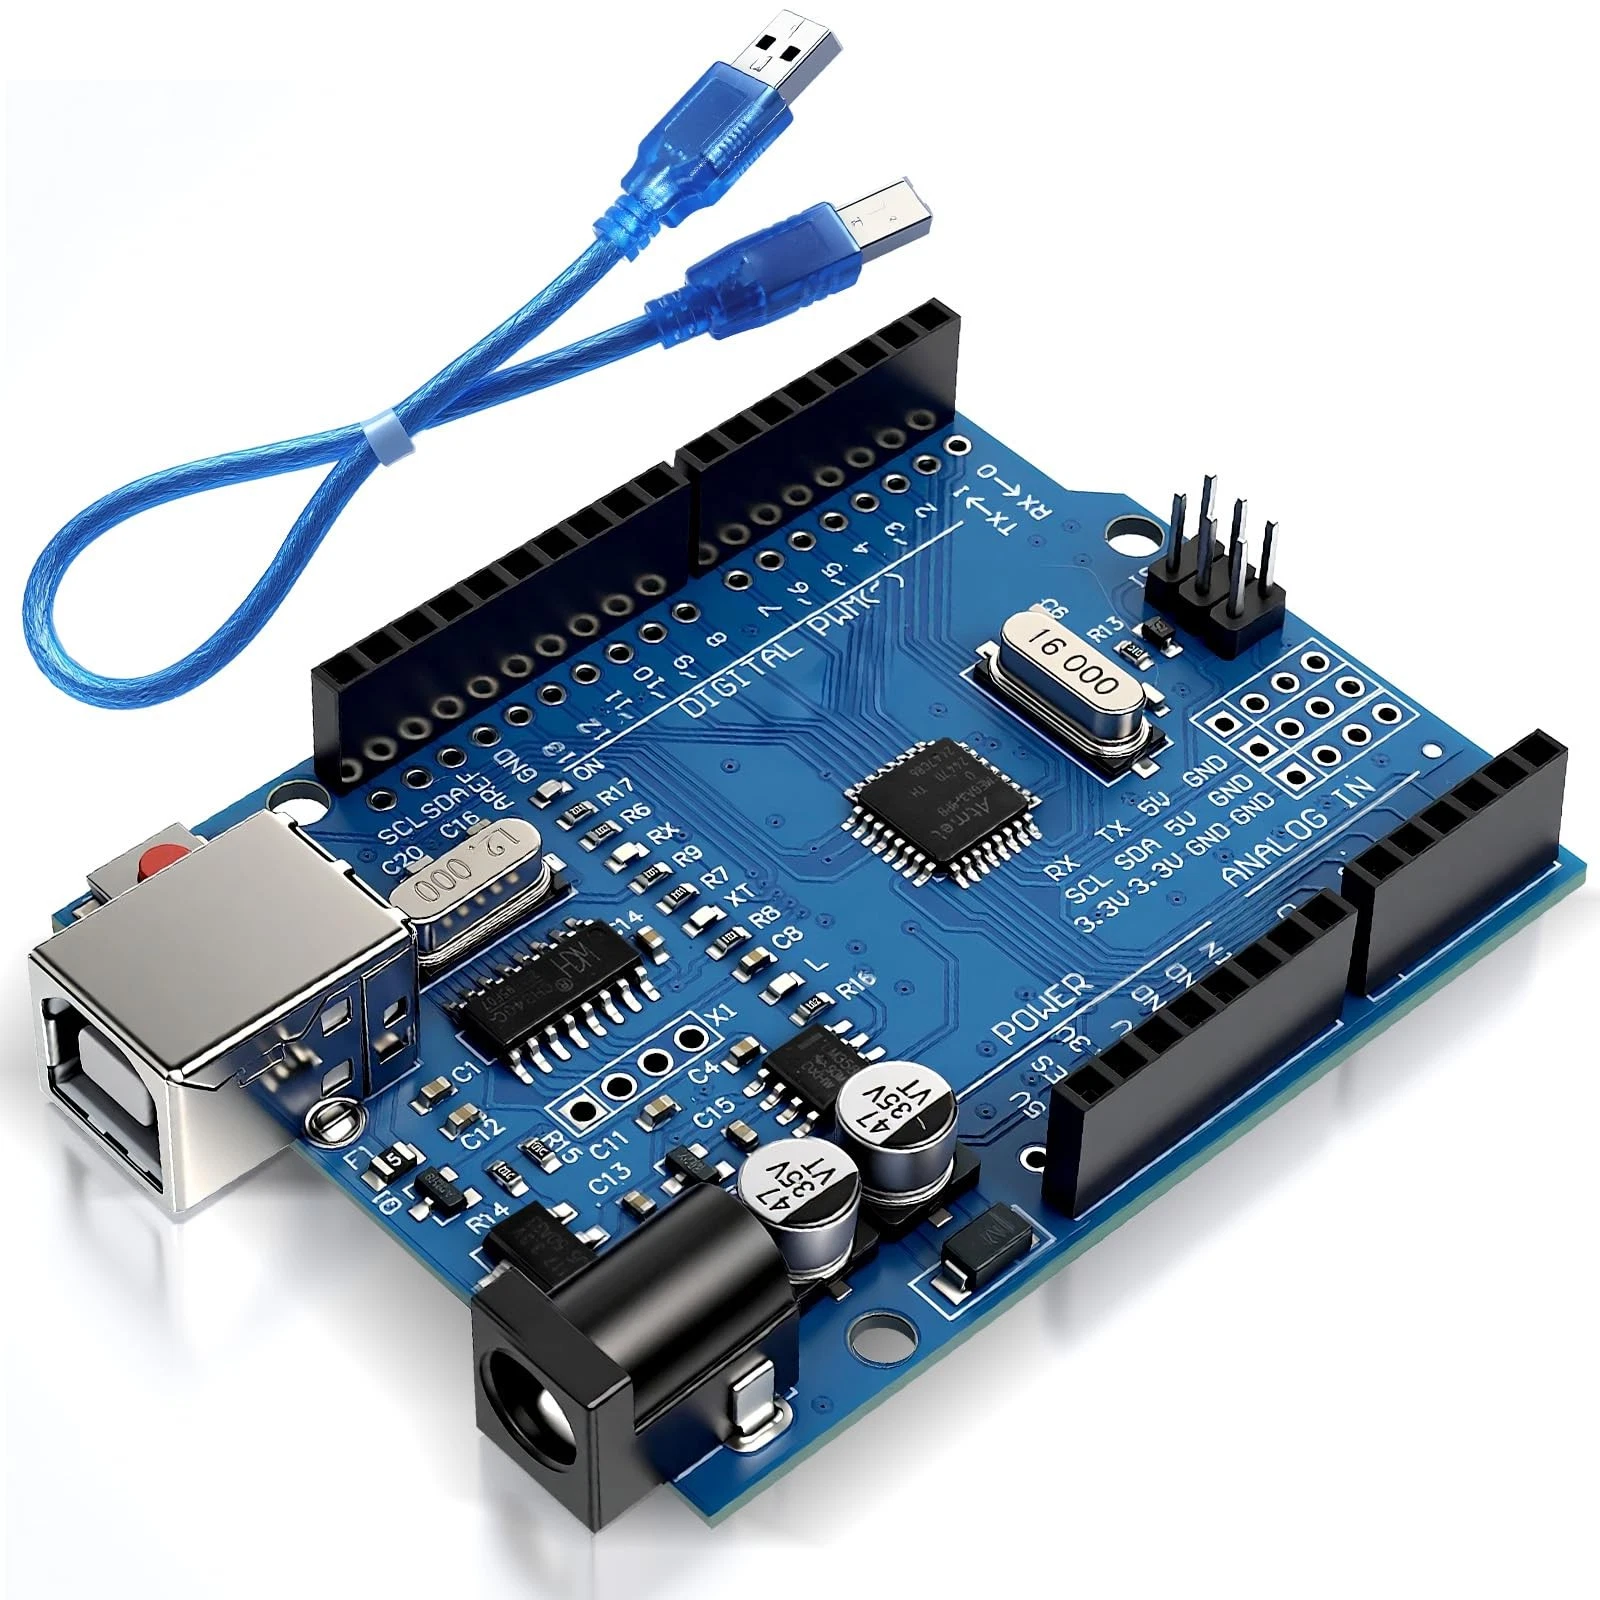
- Arduino Uno or classic 5V Nano.
- IR obstacle sensor module with adjustable sensitivity.
- 5V single-channel relay module with a built-in driver.
- Mini DC water pump, either 5V or 12V.
- External supply matching the pump's voltage and starting current.
- Flyback diode suitable for the pump's current.
- Plastic tubing and a water container.
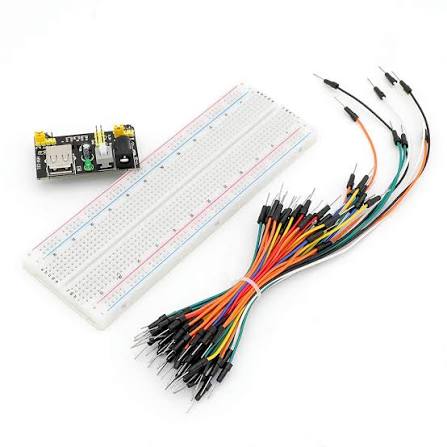
- Jumper wires and suitable pump-wire connectors.
Wiring Guide
1. IR Sensor to Arduino
- VCC: Arduino 5V.
- GND: Arduino GND.
- OUT: Arduino digital pin 2.
2. Relay Module to Arduino
- VCC: Arduino 5V, within the board's available power budget.
- GND: Arduino GND.
- IN: Arduino digital pin 3.
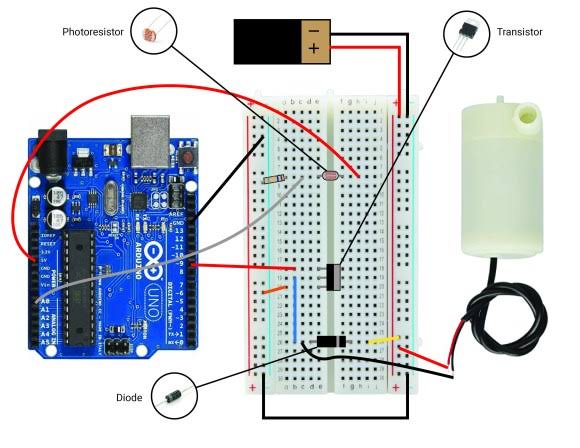
3. Pump and External Supply
- External supply positive → relay COM.
- Relay NO → pump positive.
- Pump negative → external supply negative.
- Leave the relay NC terminal unconnected.
Connect the protection diode across the pump terminals: striped end to pump positive and unstriped end to pump negative. Choose relay contacts rated for the pump's DC starting current.
The Arduino and relay control pins share ground. The separate pump supply does not need to share Arduino ground in this relay-contact arrangement. Never power the pump directly from an Arduino pin.
Source Code
This example assumes the IR sensor outputs LOW when a hand is detected and the relay is active-low. For an active-high relay, swap the values of relayOn and relayOff.
const int irSensorPin = 2;
const int relayPin = 3;

const int relayOn = LOW;
const int relayOff = HIGH;

void setup() {
    pinMode(irSensorPin, INPUT);

    // Set the OFF level before enabling the output.
    digitalWrite(relayPin, relayOff);
    pinMode(relayPin, OUTPUT);

    Serial.begin(9600);
}

void loop() {
    int sensorStatus = digitalRead(irSensorPin);

    if (sensorStatus == LOW) {
        digitalWrite(relayPin, relayOn);
        Serial.println("Hand detected: Pump ON");
    } else {
        digitalWrite(relayPin, relayOff);
        Serial.println("No hand detected: Pump OFF");
    }

    delay(100);
}
Understanding the Code
Pin setup: The sensor connects to pin 2 and the relay connects to pin 3. The relay starts at its inactive level.
Reading the sensor: digitalRead() checks the sensor output. A LOW reading means an object is detected for the sensor assumed here.
Controlling the pump: The if statement activates the relay when hands are detected. The else statement switches it off when hands are removed.
Short delay: delay(100) pauses for 100 milliseconds between readings. This simple version pumps for as long as an object remains detected; it has no automatic timeout.
Setting Up and Testing
- Mount the sensor beside the tube outlet, facing the area where hands will be placed.
- With the pump supply off, upload the code and check that the relay stays off when the sensor is clear.
- Place your hand near the sensor. Adjust its potentiometer until the relay responds reliably.
- Remove your hand and confirm that the relay switches off.
- Fill the reservoir, enable the pump supply, and test dispensing over a basin.
Keep electronics away from splashes and do not let the pump run dry. Keep the tube outlet above the reservoir's maximum water level to prevent siphoning after the pump stops.
Common Problems
- Pump works in reverse: check whether your relay is active-high or active-low and set relayOn and relayOff accordingly.
- Relay clicks but the pump does not run: check the external supply and the COM and NO connections.
- Sensor triggers continuously: reduce sensitivity and aim it away from the basin and falling water.
Project Features
- Touchless pump activation.
- Automatic stopping when hands are removed.
- Adjustable detection sensitivity.
- Simple code with no additional libraries.
Who Is This Project Ideal For?
This project is ideal for Arduino beginners, school demonstrations, and learners exploring sensor-controlled automation. You can later add a dispensing timer or a water-level sensor.