Ultrasonic Distance Measurement with LCD Display

Project Overview
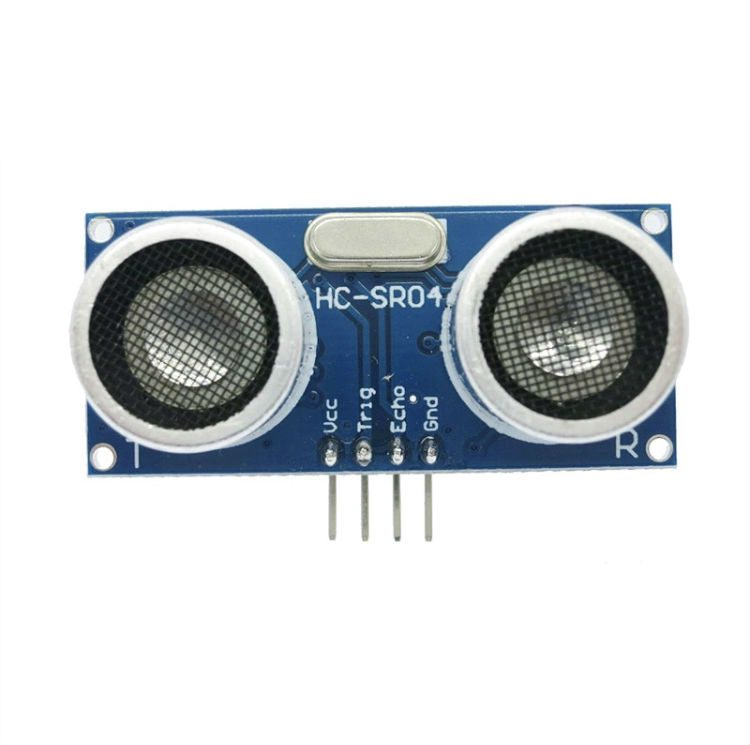
This project takes you beyond basic LED control and introduces real-world sensing using the HC-SR04 ultrasonic sensor. Instead of simply detecting objects, this sensor measures the actual distance between itself and nearby objects using sound waves.
To make the project more practical and user-friendly, the measured distance is displayed on a 16x2 LCD using an I2C interface. This transforms your Arduino into a digital distance meter, similar to tools used in construction and robotics.
The ultrasonic sensor works by emitting a high-frequency sound pulse and measuring the time it takes for the echo to return after hitting an object. The Arduino then converts this time into distance using the speed of sound.
This project is an important step toward robotics, automation, and obstacle detection systems.
Components Required
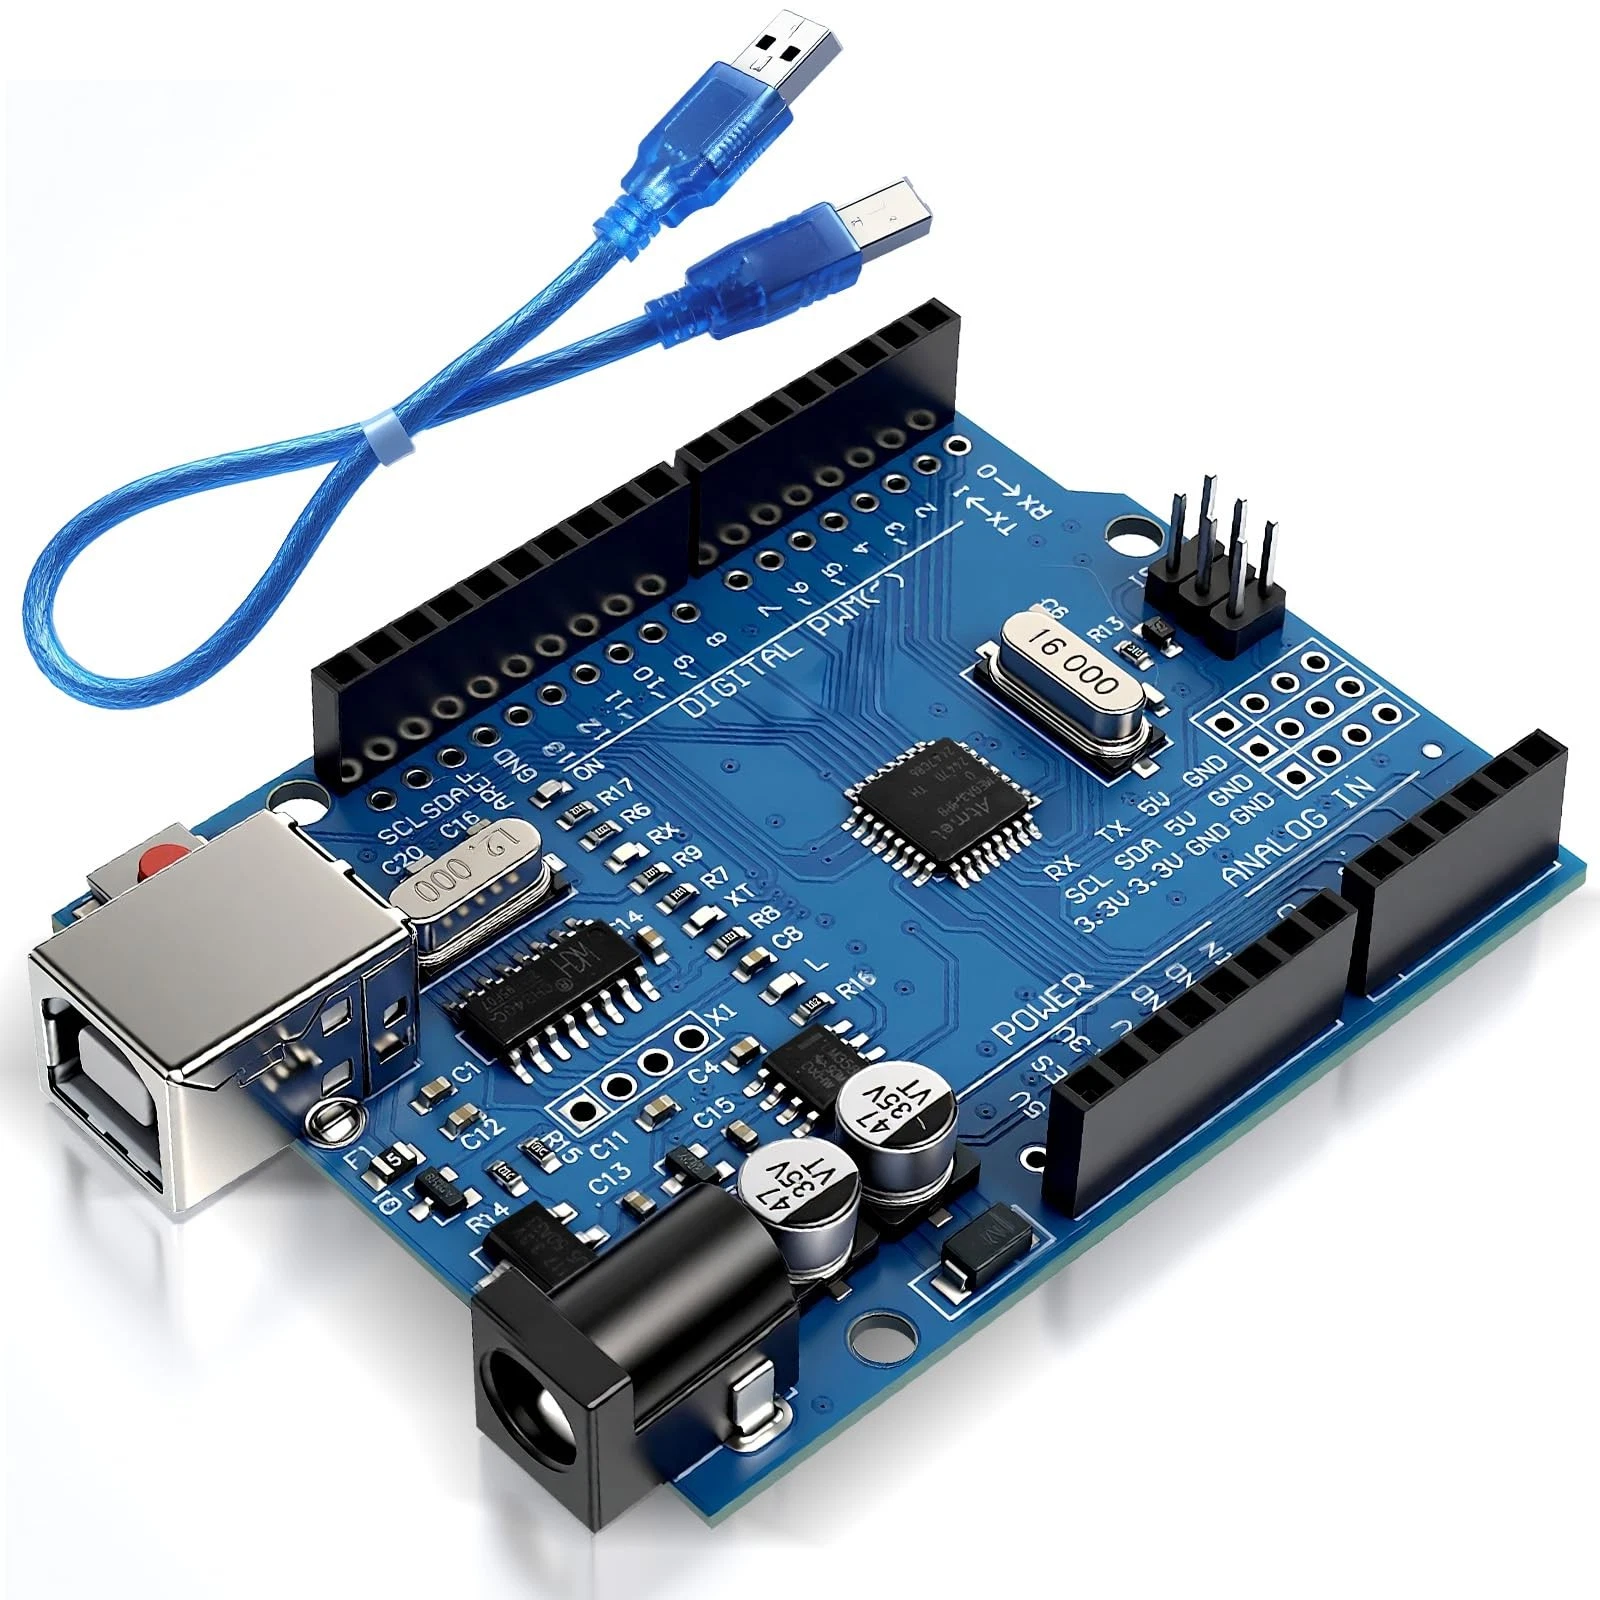
- 1x Arduino Nano or Uno
- 1x HC-SR04 Ultrasonic Sensor
- 1x 16x2 LCD Display with I2C Backpack
- Jumper Wires (Female-to-Male)
Wiring Guide
Follow these connections carefully:
- Ultrasonic Sensor (HC-SR04):
- VCC → 5V
- GND → GND
- TRIG → Digital Pin 9
- ECHO → Digital Pin 10
- LCD Display with I2C Module:
- VCC → 5V
- GND → GND
- SDA → A4 (Arduino Uno/Nano)
- SCL → A5 (Arduino Uno/Nano)
The I2C module simplifies LCD wiring by reducing the number of connections to just four pins. Ensure all grounds are connected together for stable operation.
Source Code
#include <Wire.h>
#include <LiquidCrystal_I2C.h>

LiquidCrystal_I2C lcd(0x27, 16, 2);

const int trigPin = 9;
const int echoPin = 10;

void setup() {
  lcd.init();
  lcd.backlight();

  pinMode(trigPin, OUTPUT);
  pinMode(echoPin, INPUT);
}

void loop() {
  long duration;
  int distance;

  digitalWrite(trigPin, LOW);
  delayMicroseconds(2);

  digitalWrite(trigPin, HIGH);
  delayMicroseconds(10);
  digitalWrite(trigPin, LOW);

  duration = pulseIn(echoPin, HIGH);

  distance = (duration / 2) / 29.1; // Convert to cm

  lcd.setCursor(0, 0);
  lcd.print("Distance:");

  lcd.setCursor(0, 1);
  lcd.print(distance);
  lcd.print(" cm   ");

  delay(500);
}
Code Explanation
The program begins by including the necessary libraries for I2C communication and LCD control. The LCD is initialized with its I2C address (commonly 0x27).
In the setup() function, the LCD is initialized and the ultrasonic sensor pins are configured as input and output.
Inside the loop(), the Arduino sends a short pulse through the TRIG pin to trigger the ultrasonic sensor. The ECHO pin then measures how long it takes for the sound wave to return.
The duration is converted into distance using a formula based on the speed of sound. The result is displayed on the LCD screen in centimeters.
This project demonstrates how sensors and displays can work together to create interactive and practical embedded systems.