LDR Light Sensor

Project Overview
This project introduces analog sensing using a Light Dependent Resistor (LDR). Unlike digital signals (ON/OFF), analog signals vary continuously, allowing the Arduino to measure environmental conditions such as light intensity.
This type of sensing is widely used in automatic street lights, smart homes, and energy-saving systems.
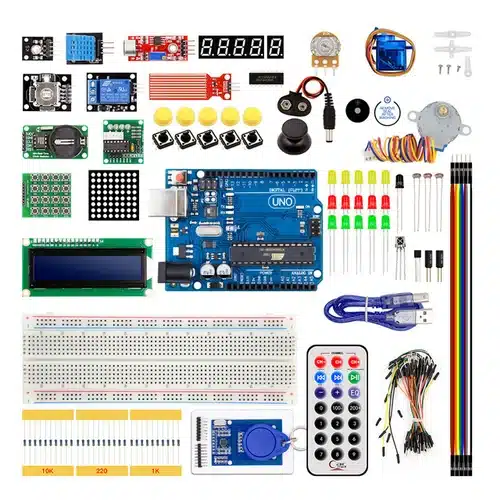
Components Required
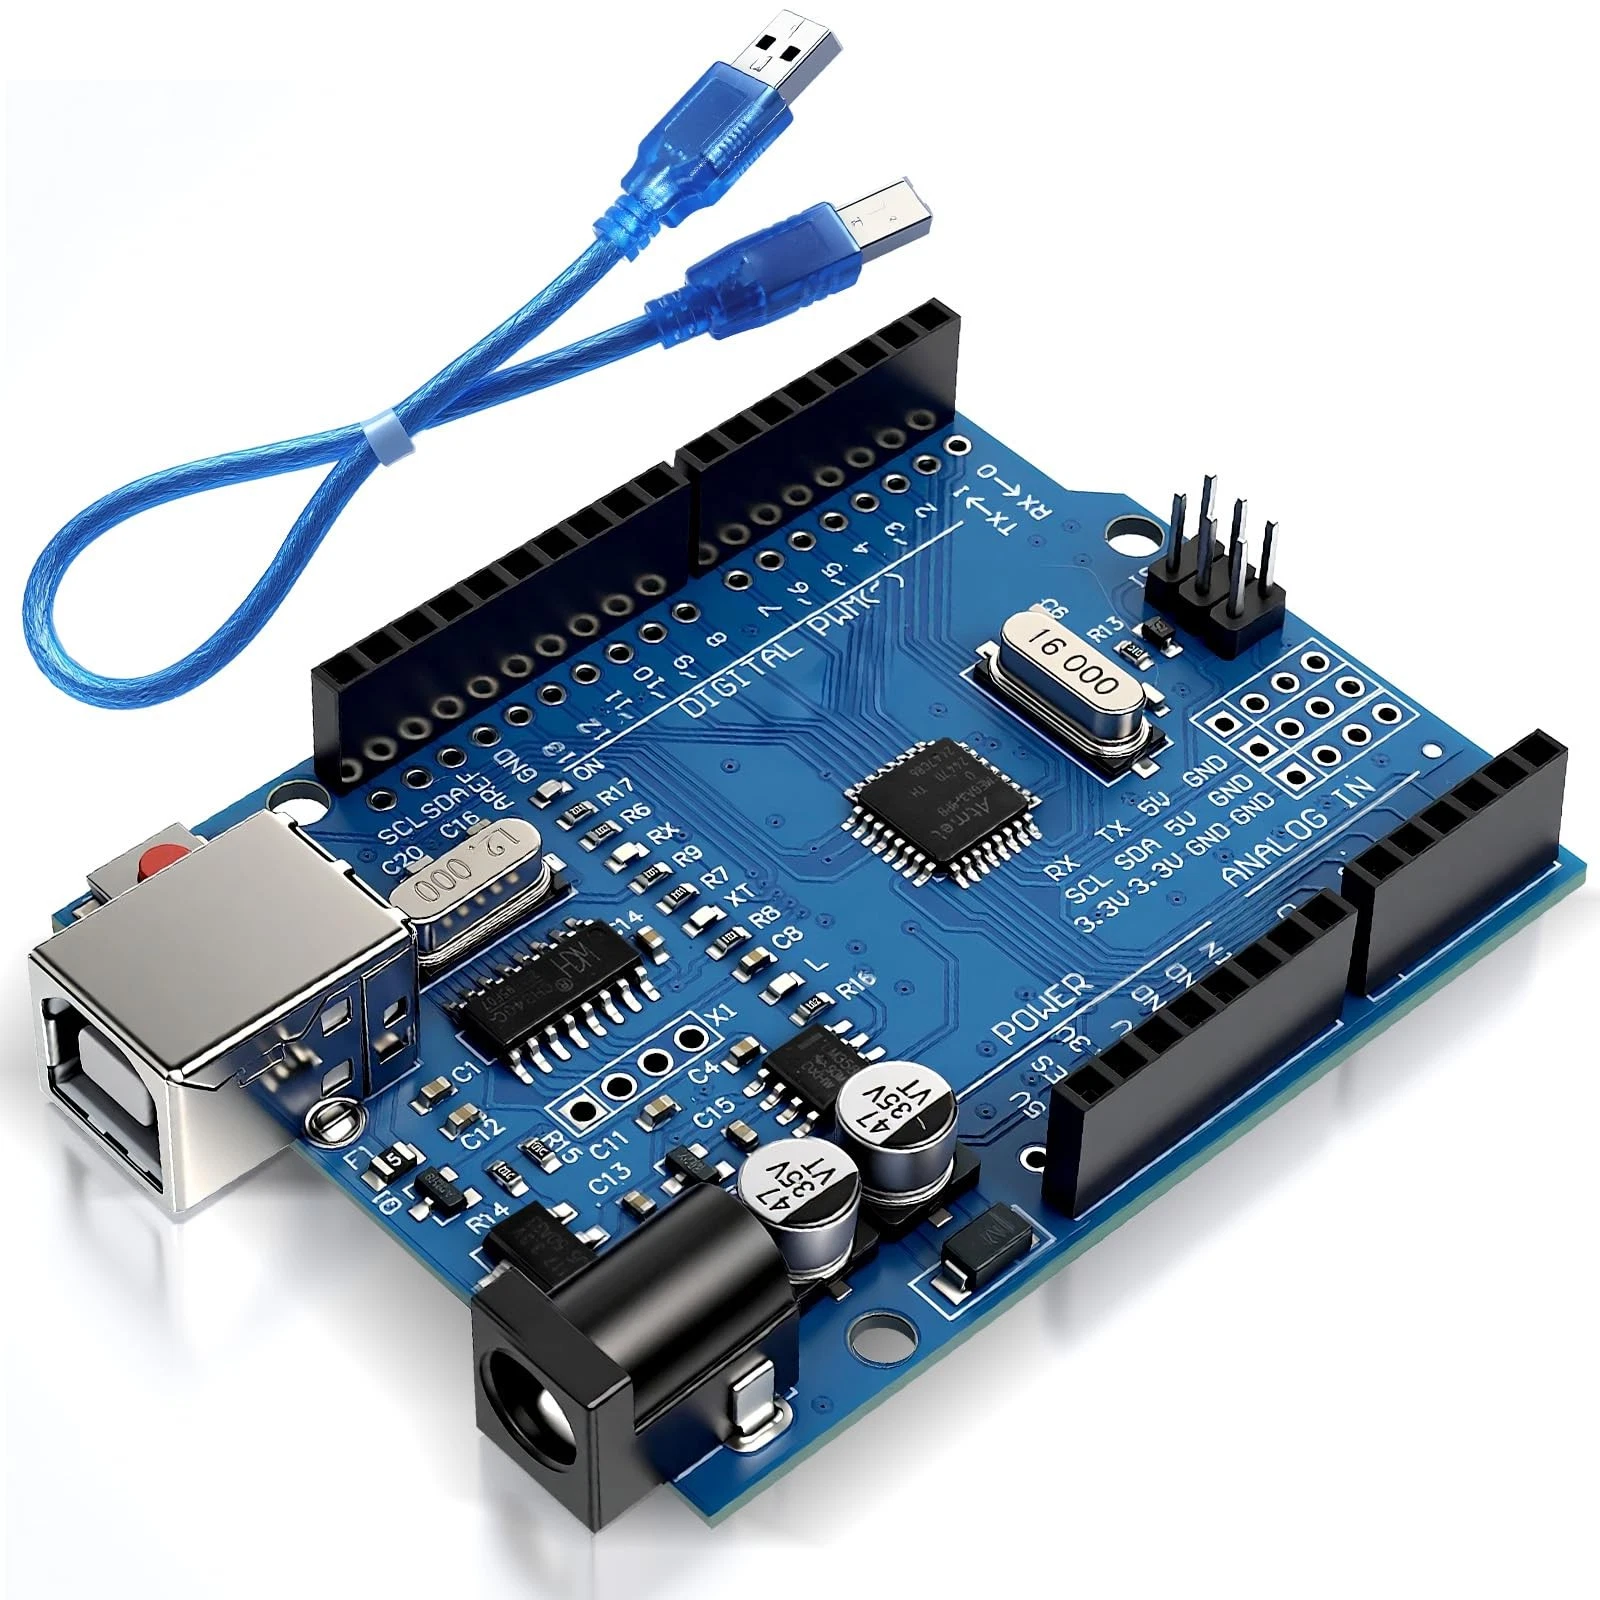
- Arduino Uno
- Photoresistor (LDR)
- 10kΩ Resistor
- LED
- Breadboard
Wiring Guide
Follow these steps:
- Place the LDR on the breadboard.
- Connect one leg of the LDR to 5V.
- Connect the other leg to analog pin A0.
- From the same A0 connection point, connect a 10kΩ resistor to GND.
This creates a voltage divider, which allows the Arduino to measure varying voltage based on light intensity.
Source Code
int ldrPin = A0;
int led = 9;
int value;

void setup() {
  pinMode(led, OUTPUT);
  Serial.begin(9600);
}

void loop() {
  value = analogRead(ldrPin);

  if (value < 500) {
    digitalWrite(led, HIGH);
  } else {
    digitalWrite(led, LOW);
  }

  delay(200);
}
Code Explanation
analogRead() reads a value between 0 and 1023, representing the light level. Lower values typically indicate darkness, while higher values indicate brightness.
The program compares the value with a threshold (500). If it is dark, the LED turns ON automatically. Otherwise, it remains OFF.
This demonstrates how sensors enable Arduino to interact with the environment, forming the basis of intelligent systems.